


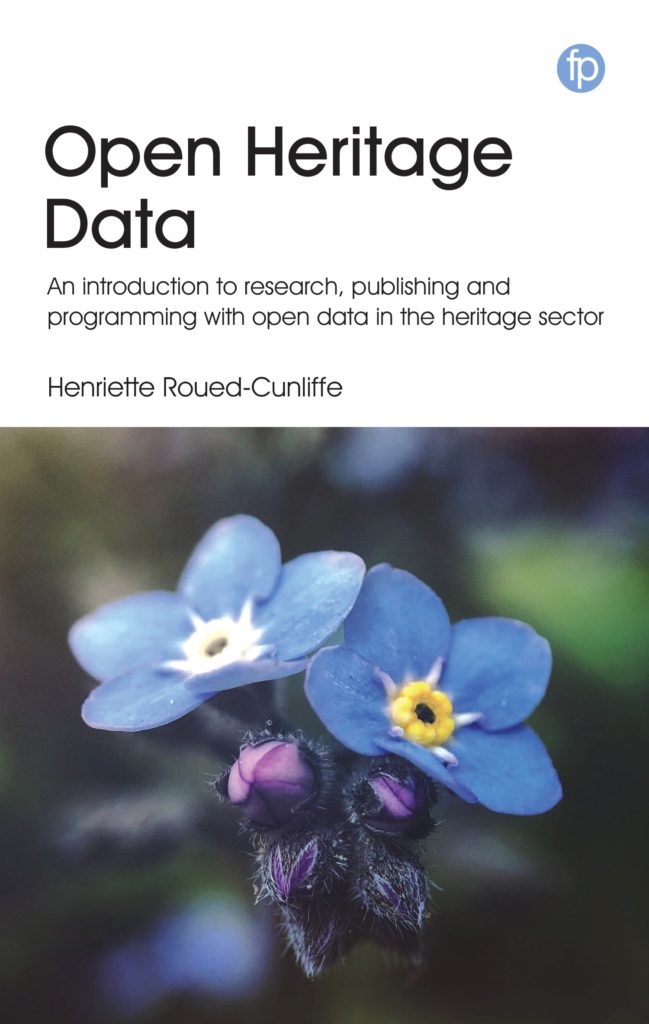
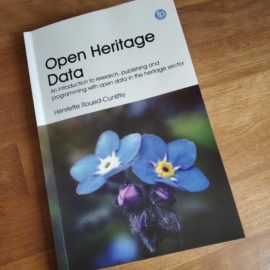
Open Heritage Data: An introduction to research, publishing and programming with open data in the heritage sector has been written for practitioners, researchers and students working in the GLAM (Galleries, Libraries, Archives and Museums) sector who do not have a computer science background, but who want to work more confidently with heritage data. It combines current research in open data with the authors’ extensive experience in coding and teaching coding to provide a step-by-step guide to working actively with the increasing amounts of data in their charge.
Published July 2020, Find it at Facet Publishing.
Read more about it in the blog post.
This book demonstrates how heritage institutions can work with community-based heritage groups to build broader, more inclusive and culturally relevant collections.
Participatory Heritage uses a selection of international case studies to explore issues and demonstrates that in order for personal and community-based documentation and artefacts to be preserved and included in social and collective histories, individuals and community groups need the technical and knowledge infrastructures of support that formal cultural institutions can provide. In other words, both groups need each other.
Edited by Henriette Roued-Cunliffe and Andrea Copeland, 2017, Facet Publishing
Latest from the Blog
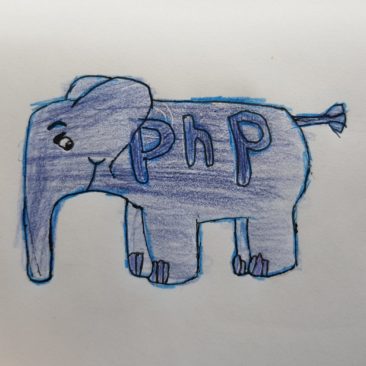
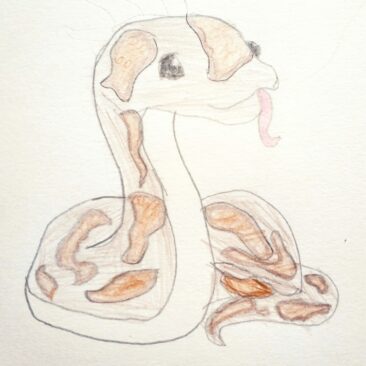
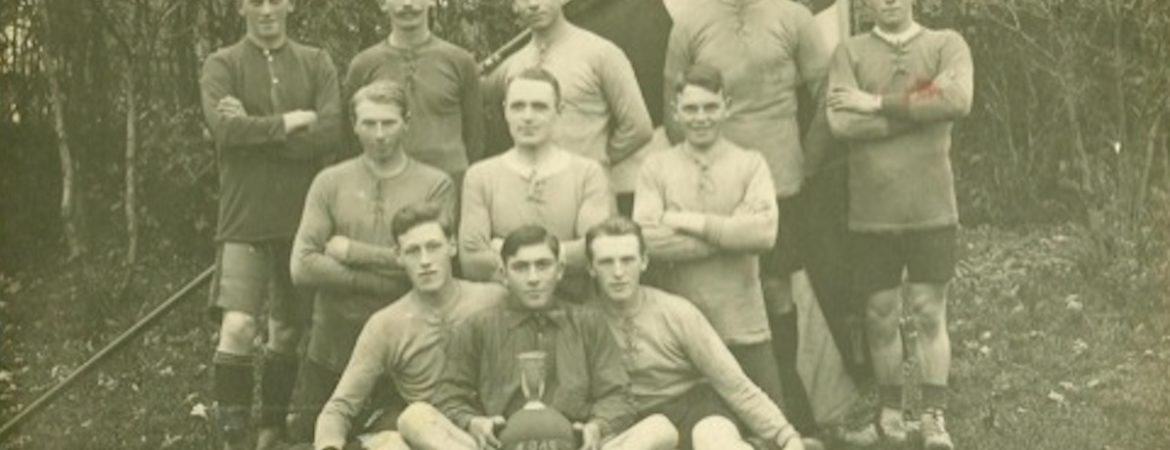
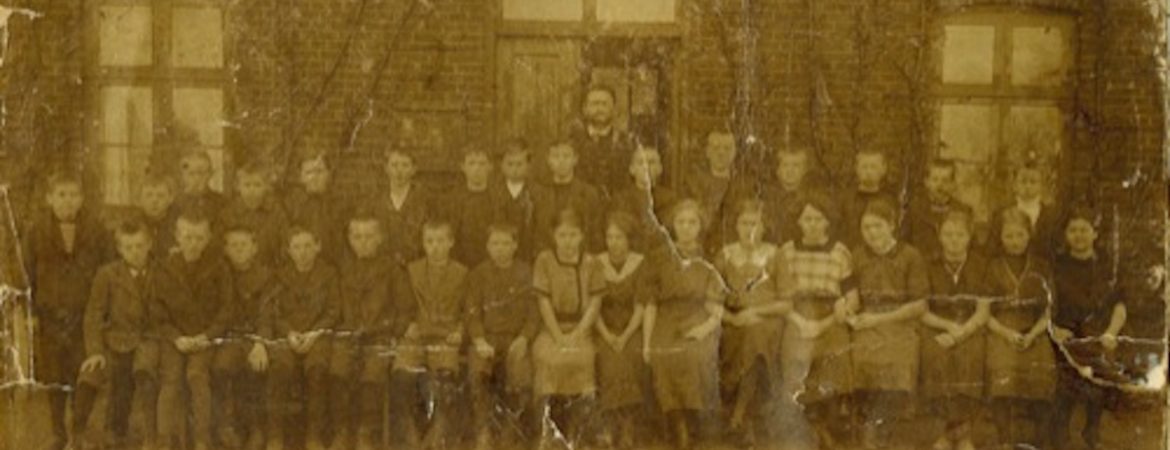
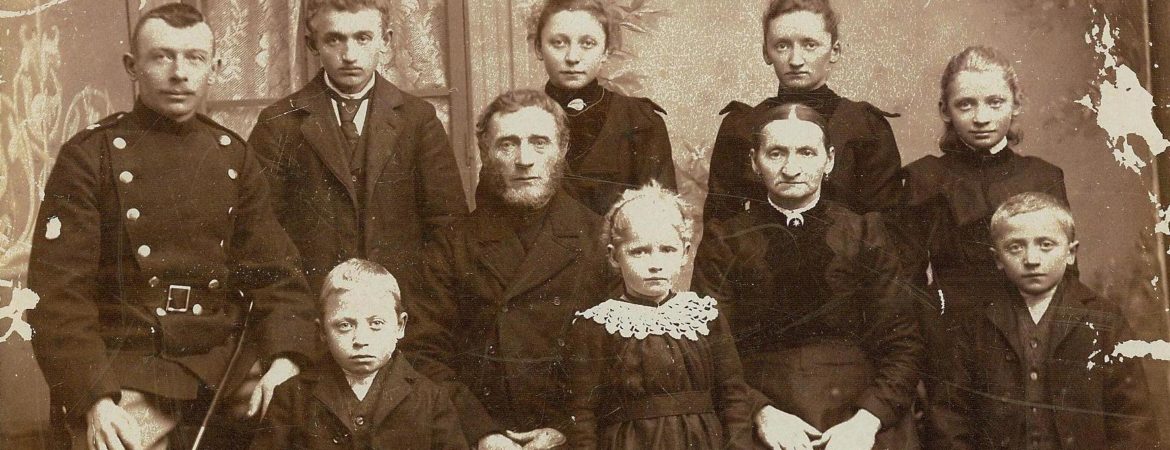
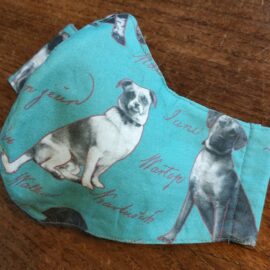
Creative reuse of heritage photos and artwork
I have been researching and teaching open data and digital heritage for many years and this has resulted in the book Open Heritage Data (read more in this blog post). While working with... READ MORE
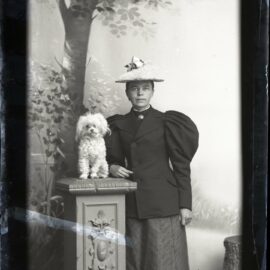
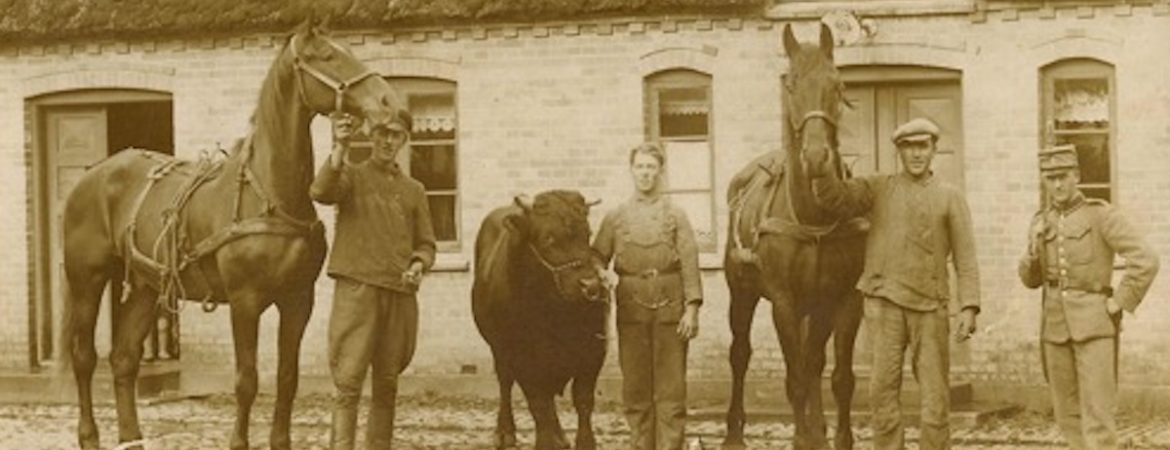
Data Science and Historic Dogs
I recently made a simple tutorial using the fun dog protocol dataset from 19th Century Denmark, which I have been wanting to share. This tutorial was originally for my talk at the University of... READ MORE
Thoughts on creativity and fear
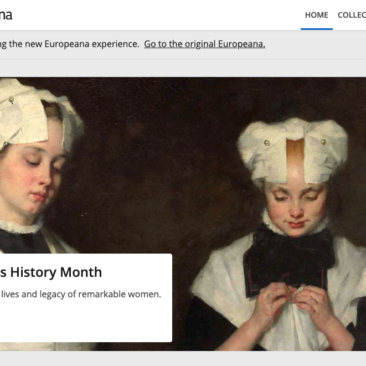
… in open heritage data Yesterday I had a wonderful chat with a heritage institution colleague about making their collection more available for creative reuse. I wanted to synthesise some of the things... READ MORE
Open Heritage Data, the book
It was very special seeing a book come together in physical form and I agreed with Facet Publishing that I should write a book on the subject of one of the chapters, namely... READ MORE